


Sandbox Mode
Quickly test tower tweaks directly in this build view. Changes are not saved.
Hint focus
Click on a numbered hint marker on the map to zoom and highlight nearby towers. Double click on map to reset zoom.
No hint selected.
Tower Filters
Highlight placed towers (Chrome limitation applies)


Build Details
| Hero | HP | Damage | Range | Rate |
|---|---|---|---|---|
| Apprentice | 0 | 1500 | 1500 | 1500 |
| Monk | 1000 | 1000 | 1000 | 1000 |
| Ev | 1000 | 1000 | 1000 | 1000 |
Build Status: Public
Difficulty: Nightmare
Game Mode: Survival
Hardcore: Yes
Mix Mode: Yes
AFK Able: No
Mana Used: 0
Mana to Upgrade: 0
More Builds from XQen
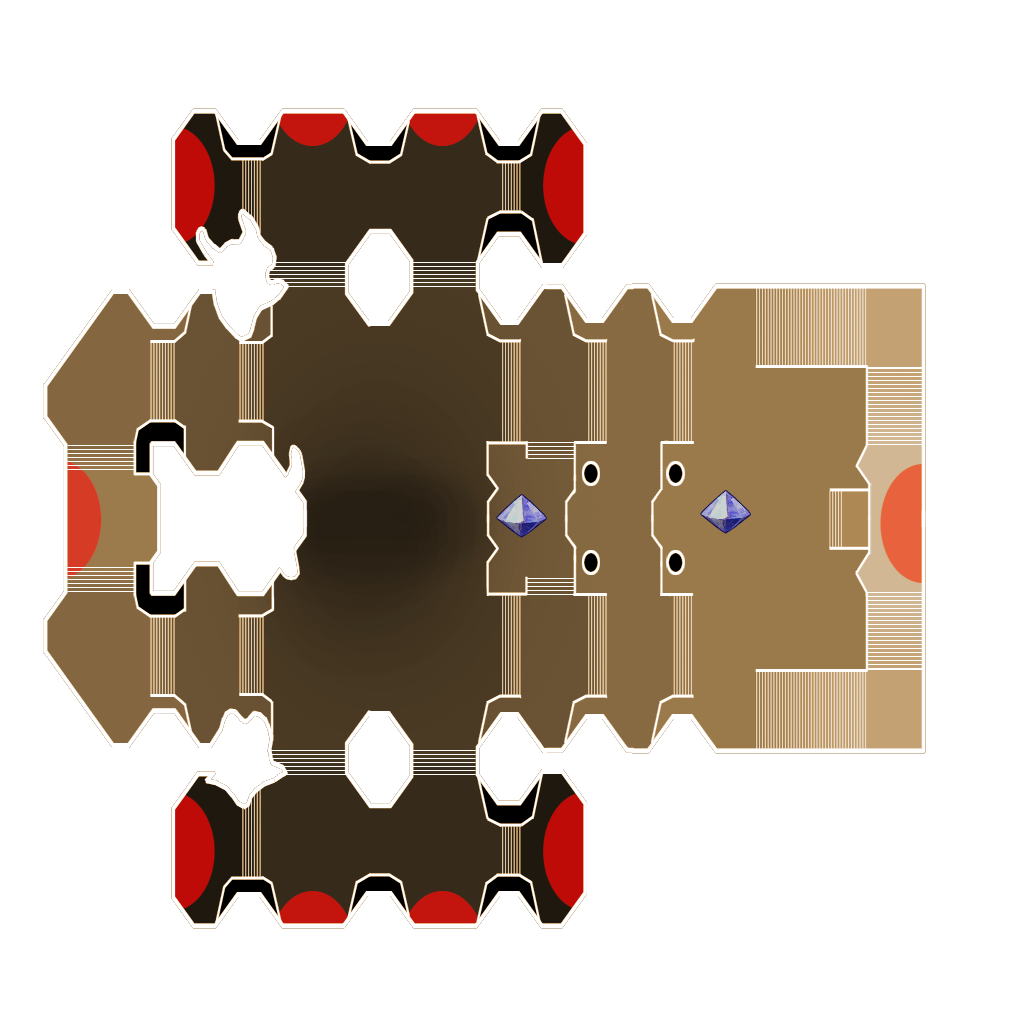
Build Description
Hint 1 and 2
How to set direction
Hint 3 and 4
Which buff beam work with auras, aura on right must be a little closer to bottom